How to host your first vendor show
From the date to the thank-yous in 13 steps: the timeline, the venue, permits, insurance, booth prices, vendors, shoppers and show day.
Last checked October 27, 2026
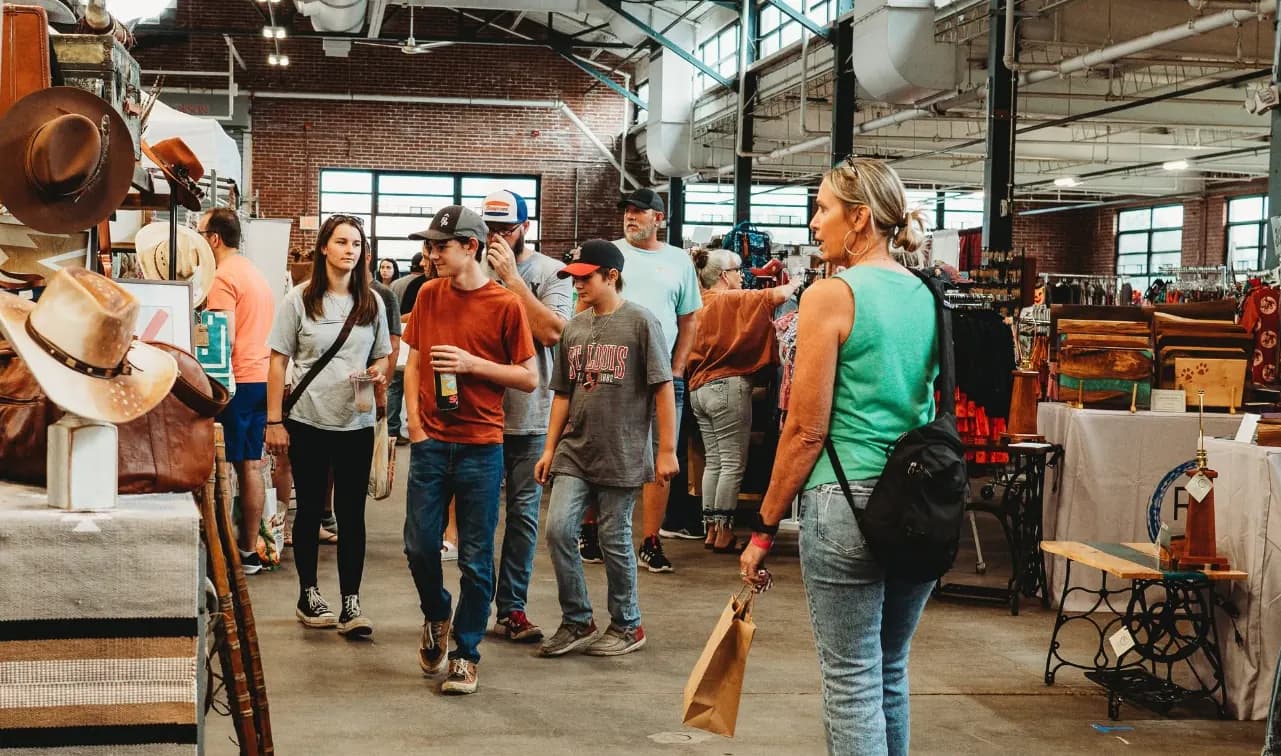
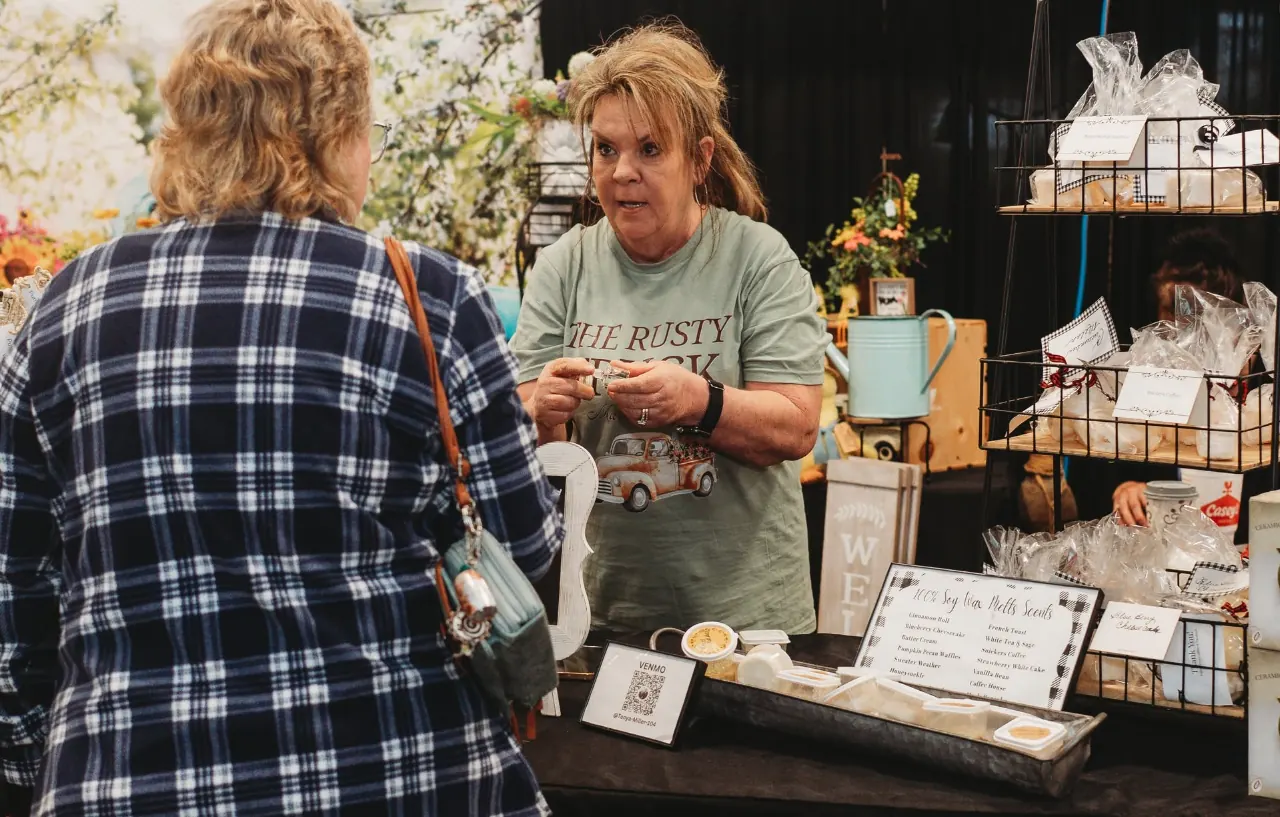
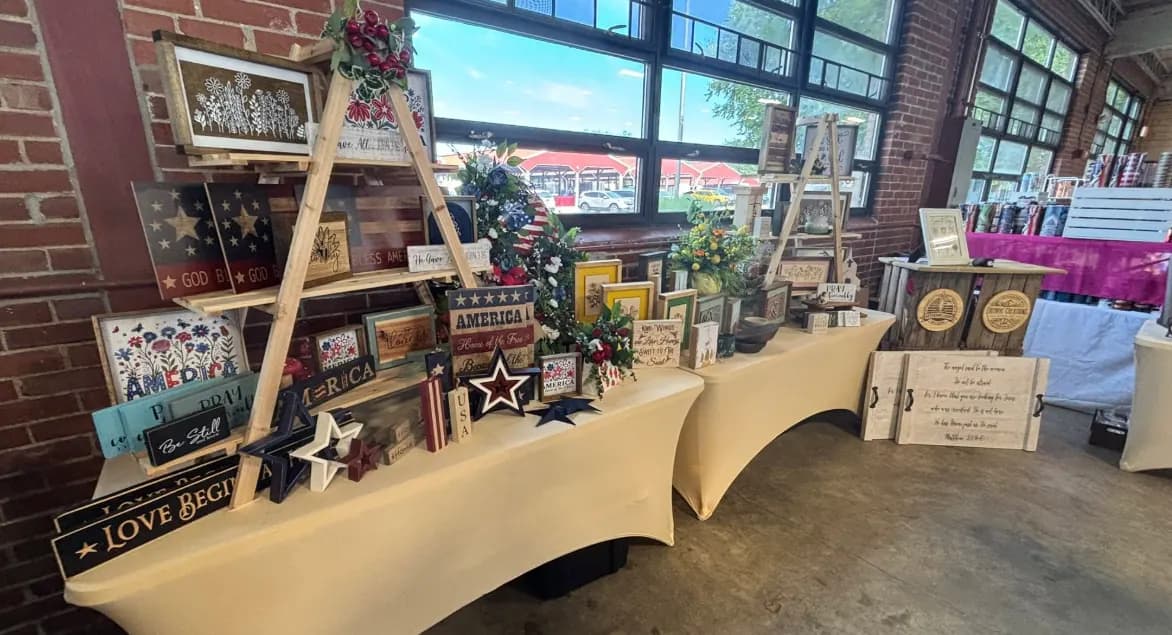
This guide is for a first show of 20 to 60 vendors, indoors or out: a craft fair, a holiday market or a mixed vendor fair. Each step says what to do, the usual numbers, and where they come from. Where a number is only common practice, it says so.
1. Decide what kind of show it is, and pick a date
Three choices shape everything after them:
- What sells there. A craft fair is handmade work. A holiday market adds gifts, food and decor. A mixed vendor fair takes handmade, boutiques, direct sales and small businesses together.
- Handmade only, or direct sales too. Direct-sales consultants (candles, skin care, kitchen tools and the like) fill booths and pay on time, but shoppers who came for handmade notice when much of the room sells from catalogs. Shows handle it three ways: one seller per company, direct sales on a waitlist behind handmade, or none at all. Pick one and say it when you ask for vendors.
- A fundraiser or a business. A school, church or club show can lean on volunteers and a free room and keep booth fees low. A show run as a business has to cover its costs and pay you for your time. It changes your budget (step 7).
Then pick the date:
- Check the town's calendar: school sports, church festivals, parades and other shows within half an hour's drive. Two shows on the same weekend split both the vendors and the shoppers.
- November is the busiest month for craft and holiday shows. A new holiday market does better a week before or after the big one nearby than on the same Saturday.
- Outdoors, decide now whether you'll have a rain date, and say so from the start.
2. Count back from the date
Put the date on a calendar and count back. For a first show, give yourself about six months:
- 4 to 6 months out: book the venue (step 3). Right after, call the city, the fire marshal and, if anyone sells food, the health department (step 4).
- 3 to 4 months out: open applications to vendors (steps 8 and 9).
- 8 to 10 weeks out: close applications. Tell vendors yes, no or waitlist within 1 to 2 weeks, and ask for payment within 2 weeks of saying yes.
- 6 to 8 weeks out: start telling shoppers (step 10).
- 2 to 8 weeks out: send your booth map to the fire marshal, when your city asks for it.
- 2 to 4 weeks out: place vendors and send them the show-week details (step 11).
- Show week: print the map and the check-in sheet, and watch the weather.
Government deadlines set the minimum. Cities ask for special-event permits from 30 days ahead (Grand Prairie, Texas) to 90 days (Bremerton, Washington), and Illinois asks show organizers to tell its Department of Revenue at least 30 days ahead. The schedule above is our recommendation for a small first show, built from those deadlines and real shows' calendars. It isn't an official standard, and big holiday markets start much earlier: many open applications between January and March (common practice).
3. Find and book the venue
Look at schools, churches, community centers, fairgrounds, VFW and Legion halls, and event barns. Visit in person, at the time of day your show will run, and ask:
- How many booths fit? Get their floor plan with measurements, or measure it yourself. Step 6 turns it into a booth count.
- What's included: tables, chairs, outlets, Wi-Fi, setup and cleanup, and whether their staff must be there.
- Load-in: which doors, how close vendors can park to unload, ramps or steps, and where vendor cars go afterwards.
- Parking for shoppers: how many cars, and where the overflow goes.
- Insurance: how much coverage they require, and the exact "additional insured" wording for your certificate (step 5).
- The fire marshal: whether the venue or the city must approve your layout, and the room's posted capacity.
- Access: an accessible entrance, restrooms and parking, and a way in without steps.
- Hours: when you can get in to set up, and when you must be out.
- Money: the deposit, when the rest is due, and the cancellation terms. Get it in writing.
- Outdoors: the rain plan, where tents can go, whether stakes are allowed or tents need weights, and where the power is.
4. Call the city, the county and the state
Rules for events are local, and the lead times run from a month to six months, so call as soon as the venue is booked. Ask the city clerk or special-events office which of these apply:
- A special-event permit, usually for an outdoor show, or one that uses a park or closes a street.
- The fire marshal's approval of your floor plan: exits, aisle widths and fire extinguishers (step 6). Ask when they want it; some want it weeks ahead.
- Tent permits. Under the International Fire Code, which most places adopt, a tent over 400 square feet needs a permit. Canopies open on all sides are exempt up to 700 square feet, but only when they stand 12 feet from other tents, so rows of vendors' canopies may need one. Some cities draw their own lines, so ask the fire department.
- The health department, if anyone sells food, even wrapped cookies. Under the FDA Food Code, which most states' rules follow, a food stand at a single event lasting up to 14 days is a "temporary food establishment", and the local health department permits it. Many want a list of your food vendors ahead of time. What home bakers may sell without a license (cottage food) differs by state.
- Sales tax. Vendors collect and pay their own sales tax, but in some states the show's organizer has duties too:
- Texas: make sure each seller has an active sales tax permit, or collect the tax on sales by those who don't.
- California: you may need written proof of each seller's permit before renting them space, and must send the state your vendor list when it asks.
- Illinois: tell the Department of Revenue about the show at least 30 days ahead, hand vendors its packet, and report your vendors by the 20th of the next month.
- Washington: check in good faith that each vendor is registered, and keep the records for a year.
- Minnesota: get form ST19 from each seller before renting them space, and keep it three and a half years.
- Wisconsin: file form S-240, listing your vendors, within 10 days after the show.
- New York: if you run four or more shows a year, register as a show operator and report your vendors.
- Arizona: keep a current list of your vendors, with their business names and addresses, and give it to the state when it asks in writing.
- Ohio: keep each vendor's name, address, license number and what they sold, for four years.
- Anywhere else, ask your state's revenue department. Asking each vendor for their seller's permit number on the application has you ready in any state. Insurance, permits and sales tax has what every state asks of hosts.
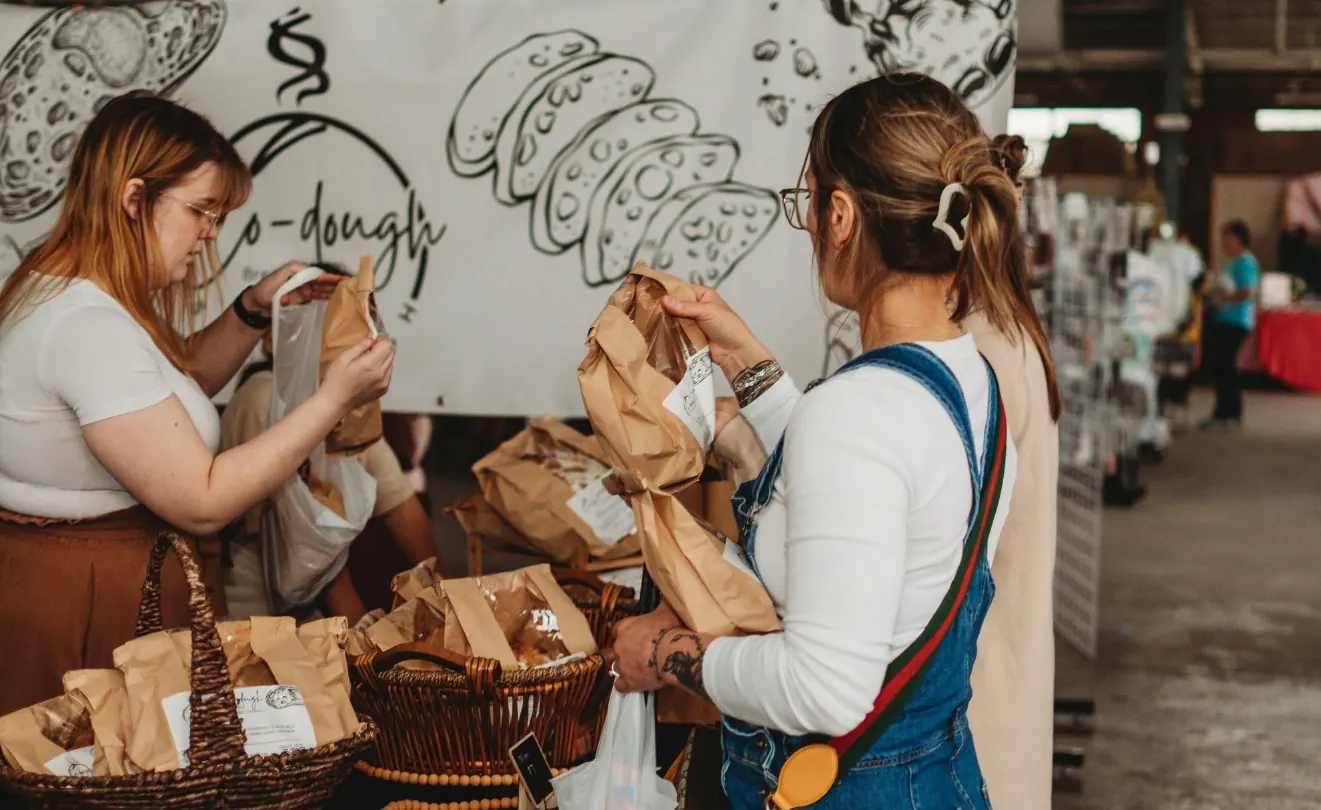
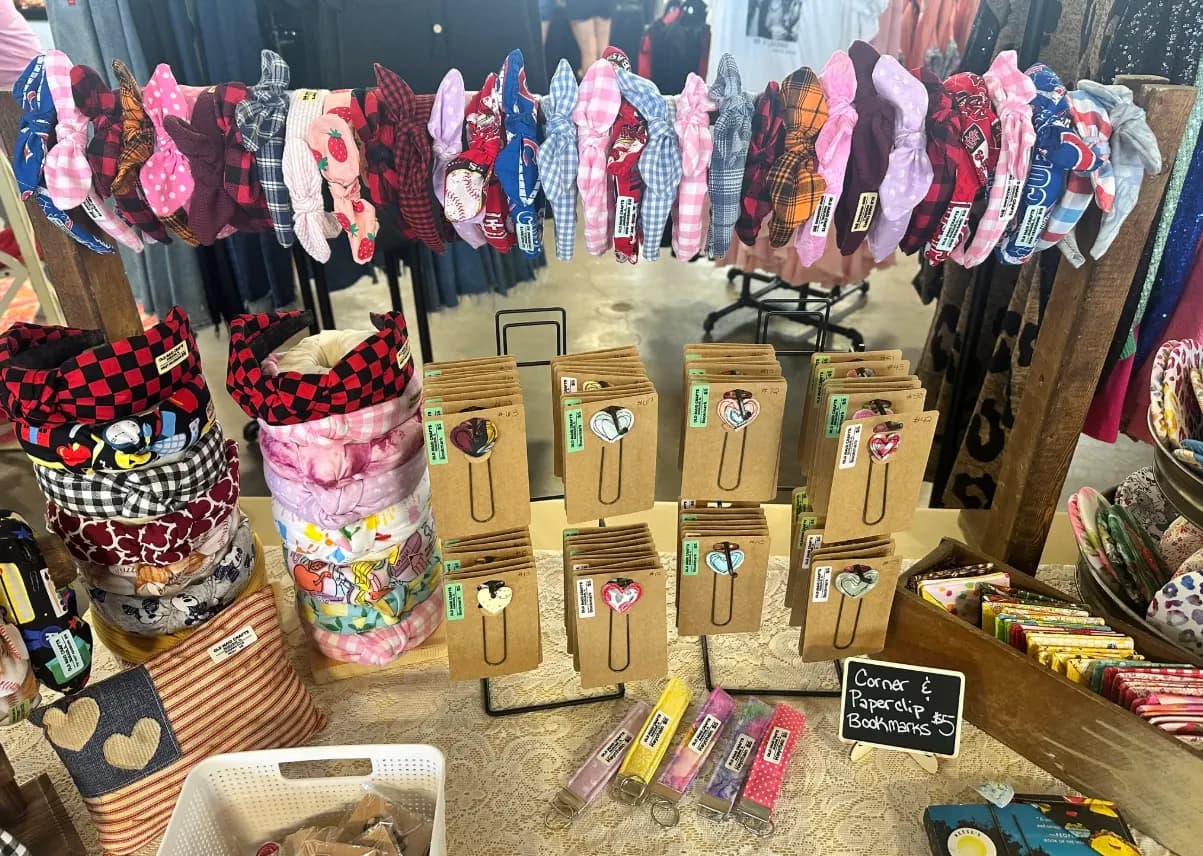
From real vendor shows
5. Get event insurance
- Venues and cities commonly ask the organizer for general liability insurance of $1 million per occurrence and $2 million in total, with them named as additional insured. Some ask for less, so ask yours (step 3).
- One-day event insurance can be bought online in an afternoon. Insureon, an insurance broker, says its customers pay an average of $278 for one day (April 2026); the price goes up with the crowd, alcohol and the number of days.
- Your policy doesn't cover what vendors sell. If a shopper gets sick from a vendor's fudge or a vendor's shelf falls on someone, that's the vendor's own liability. Many shows ask each vendor for a certificate of insurance naming the show (and often the venue) as additional insured, due 1 to 2 weeks before the show, and a vendor's own policy for a single show starts at around $50 (common practice).
- Decide whether you'll require vendors' insurance, require it only of food vendors, or only recommend it, and say so on the application. Get the proof before a vendor sells, not on show day.
6. Draw your booth map
- Measure, or use the venue's plan. Mark the doors, exits, outlets, posts, restrooms, stage and anything that can't move.
- Booth sizes. Outdoors, 10 by 10 feet is the standard: the size of a pop-up canopy. A double is 10 by 20. Indoors, 8 by 10, 8 by 8 and table spaces (a 6- or 8-foot table and two chairs) are common, especially in schools and church halls. At trade shows, a standard 10 by 10 booth in a row keeps anything taller than 4 feet (up to 8) in its back half, so shoppers can see down the aisle.
- Aisles. Your fire marshal sets the width; there's no national number. Canby, Oregon's fire district asks for at least 44 inches between booths, with main aisles of 8 feet at small events and 10 feet at large ones, and Portland asks for 8 feet in hotel ballrooms and 10 feet in larger halls. Plan on 8 to 10 feet for main aisles where shoppers crowd, and ask before you go narrower.
- Exits and extinguishers. Keep every exit, and the way to it, clear. Fire extinguishers must stay visible and easy to reach, never behind a booth's backdrop, and many fire departments want one within 75 feet of walking from anywhere in the show. Ask who brings them: you, the venue or each vendor.
- Wheelchairs and strollers. Under the 2010 ADA Standards, an accessible route is at least 36 inches wide (it may narrow to 32 inches for no more than 24 inches), with a 60-inch space to pass at least every 200 feet where it's narrower than that. Keep cords, tent lines and table legs out of it. Grass and gravel are hard going, so put the accessible route on a hard surface.
- Outdoors. Fire lanes are at least 20 feet wide with 13 feet 6 inches clear overhead, under the International Fire Code, and some cities ask for more. Keep fire hydrants clear, and cooking and generators well away from tents. Every canopy needs weights on each leg: rules run from 10 to 40 pounds a leg, and some shows ask for more (common practice).
- Power, food trucks and corners. Put booths that need power by the outlets, and ask the venue how many can share a circuit. Food trucks need a way in after other vendors have unloaded, and a spot where their line won't block an aisle. Corner booths are worth more (step 7).
- Number the booths in an order vendors can find: rows by hundreds (101, 102, then 201, 202), or odd numbers on one side of an aisle and even on the other.
- Count what you can sell. Leave out spots blocked by columns or doors, or tucked where shoppers won't walk. That's your booth count for step 7.
How to lay out a booth map goes further, with example layouts.
On My Vendor Show: you draw the map on your phone or computer, over a photo or PDF of the venue's floor plan, and it shows booths that overlap, sit in a fire lane or block a door before you print it for the fire marshal.
Sign up free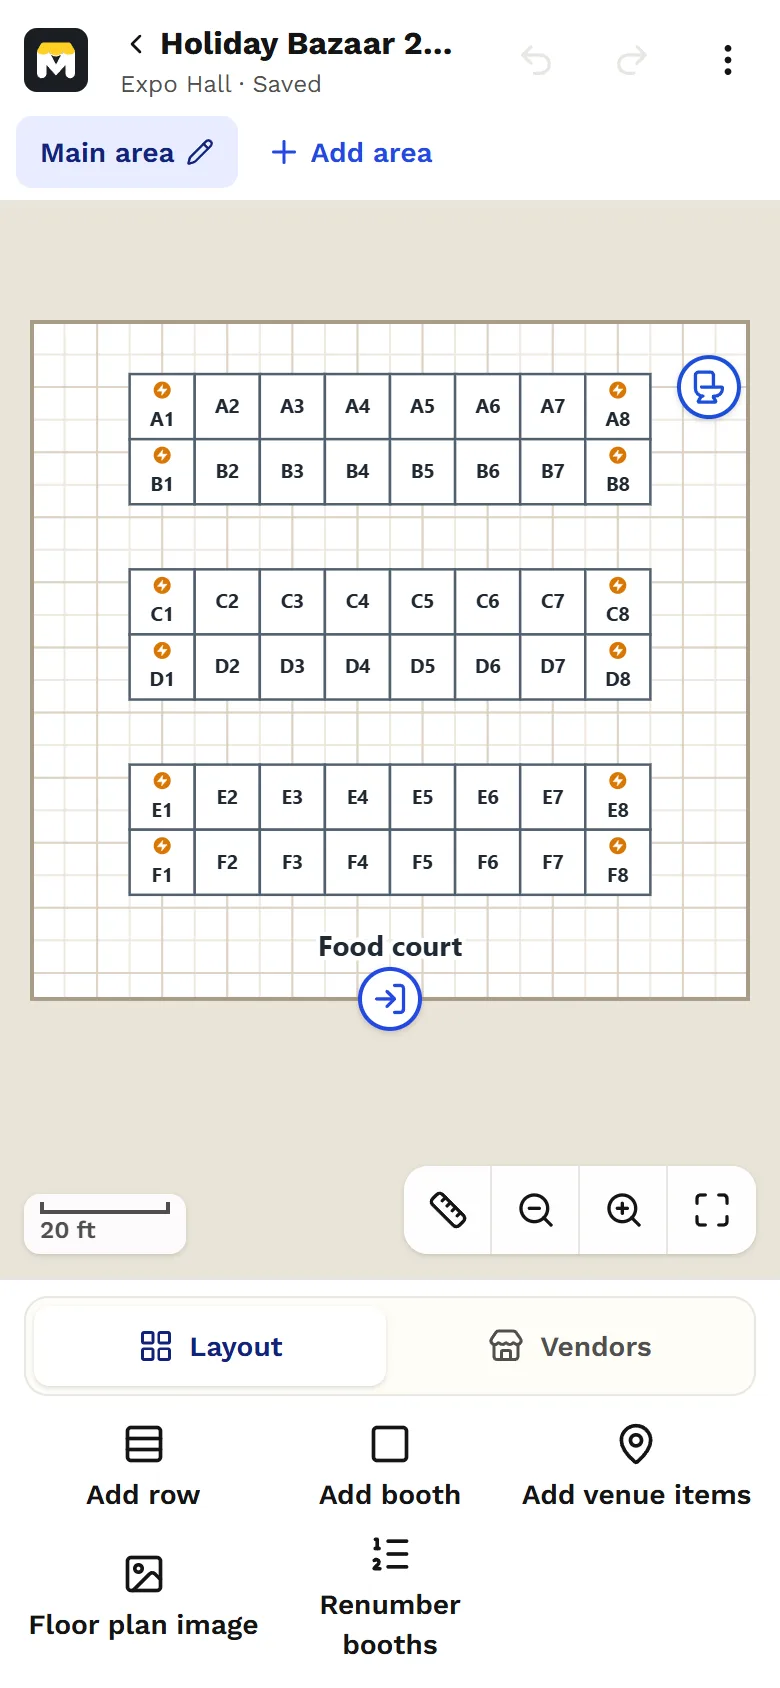
7. Set your budget and booth prices
- List your costs: the venue, insurance, permits, rented tables and chairs, advertising (Facebook ads, flyers, signs, a banner), printing and supplies. Add 10 to 15% for surprises. A small community show often costs $500 to $1,500 to put on (common practice).
- Work out your break-even: your total costs divided by the booths you expect to sell. In year one, plan on selling about 70% of your booths, not all of them.
- Charge 1.3 to 2 times your break-even, to cover the empty booths and make the show worth your time (common practice).
Example: costs of $3,000 and 40 booths. At 70%, you'd sell 28, so you'd break even at about $107 a booth, and charge $140 to $210.
Then check it against what shows near you charge, since vendors will:
- Booth fees for craft fairs and holiday markets mostly run from about $60 to $350, with the middle around $140 to $180, and small community markets often charge $35 to $75 for a table space (common practice, from fees shows published in 2026).
- Vendors aim to sell at least 7 times their booth fee, so a $150 booth has to be somewhere a vendor can sell about $1,000 in a day.
- A double booth usually costs 1.5 to 2 times a single, a corner booth $10 to $50 more, and electricity $5 to $50, depending on what the venue charges you. How much to charge for a booth has real shows' prices for each.
- Admission: free is usually right for a new show. In some states, admission is taxable even when booth rent isn't (Texas is one), so ask your state.
Your refund policy. Write it before you open applications, and keep to it. We recommend:
- 60 or more days before the show: a full refund of the booth fee.
- 30 to 60 days: half.
- Less than 30 days: none, since the money has gone into advertising.
- Bad weather, or a cancellation you didn't choose: a credit toward your next show.
- Application fees, if you charge one: never refunded.
Tiers like these are common practice, not a rule. What matters is that vendors see the policy before they pay. Vendor rules, refunds and bad weather has what other shows do.
When to collect. Charge after you accept a vendor, not months before, and ask for payment within 2 weeks. A booth isn't held until it's paid.
8. Write your rules and your application
Categories and limits. Decide your mix before you open: how many jewelry, candle, soap, baked goods, woodwork, sign and clothing vendors. Set a limit for each, and tell vendors up front. For direct sales, one seller per company is a common rule.
What to ask on the application:
- the business name, the vendor's name, email and phone;
- what they sell, in a sentence or two;
- 3 to 5 photos of their work, and one of their booth set up;
- the booth size they want, and whether they need electricity;
- their website or social media;
- their certificate of insurance, if you require one (step 5);
- their seller's permit number (step 4).
The vendor agreement, which they agree to when they apply (a sample to copy):
- setup and teardown times, and that they stay until close;
- the booth fee, when it's due, and your refund policy;
- that a no-show loses their fee;
- what you provide (tables, chairs, power) and what they bring;
- weights on every canopy leg, outdoors;
- that you place the booths, and may move one for safety;
- that their own insurance, permits and sales tax are up to them;
- what they can't sell.
How you'll choose. Say it plainly on the application, for example: "We choose for a balanced mix, the quality of the work and the booth, and fit with the show; vendors who did well with us last year come first." Then hold to it, for friends too.
On My Vendor Show: vendors apply from a link on their phone, with their photos and your own questions, and your category limits are counted as you approve.
Sign up free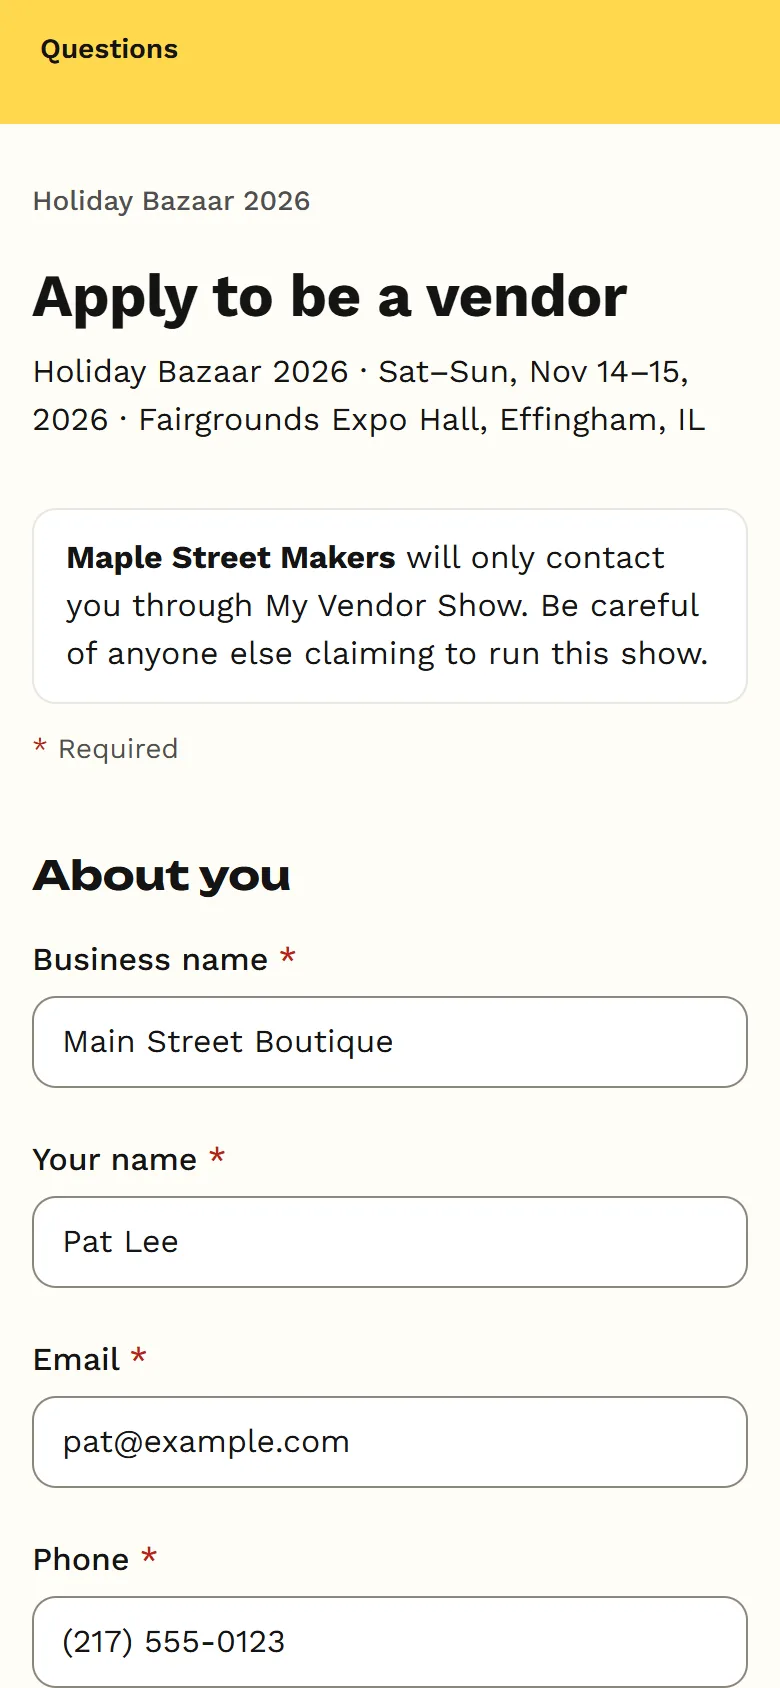
9. Open applications and fill your show
Where to find vendors:
- local Facebook groups for crafters, makers and small businesses, and groups for vendor events near you;
- other shows: walk them, take cards, and invite the vendors you'd want;
- makers in your town on Instagram and Etsy;
- farmers markets, the chamber of commerce and local shops;
- your accepted vendors, who know other vendors: ask them to share your call.
Choosing:
- Review in batches rather than first come, first served, so you can balance the mix.
- Keep a waitlist. You'll need it for cancellations and no-shows.
- Accept with the booth fee, the due date and the refund policy in the same email.
- Answer everyone, the noes too, and soon. A short, kind no costs nothing, and vendors remember it.
Vendor applications and choosing vendors goes further, with sample questions and wording.
On My Vendor Show: accepted vendors pay their booth fee by card on their phone, through your own Square account, with reminders when it's due. Cash and checks are marked as paid.
Sign up free10. Tell shoppers
- Start 6 to 8 weeks out, and build up to the week of the show. One post the week before isn't enough, and "no one knew about it" is a common complaint about first shows.
- Make a Facebook event 3 to 4 weeks out, with the address, the hours, parking and photos of a few vendors' work. Post in it each week, and remind people 2 or 3 days before (common practice).
- Give vendors a share kit: a picture and a short post with the date and address. Every vendor's followers are shoppers you don't have yet.
- Put up flyers at libraries, coffee shops, churches, schools and grocery store boards. Send the show to local TV, radio and newspaper calendars and the chamber of commerce. Put signs near the venue the week before, where the city allows them.
- Tell vendors where you're advertising, but never promise a crowd or sales. If the crowd doesn't come, that promise is what vendors remember.
How to promote a vendor show goes further: the Facebook event, free listings, signs and what shoppers say brought them.
11. Place vendors and send show-week details
Placing vendors. From our own shows: most hosts place vendors themselves rather than letting vendors choose, and vendors expect it.
- Put your strongest vendors, the ones shoppers come for, near the entrance and at the ends of rows, so shoppers walk the whole room. Montana's farmers market guide puts one in the middle too.
- Keep vendors of the same kind apart: two jewelry booths side by side split the same shoppers, and vendors notice. There's no rule for how far apart; the room and your mix decide.
- Put vendors that go together side by side, like a baker next to a jam maker.
- Put vendors who need power by the outlets, and food where its line won't block an aisle.
- Food trucks drive in after the other vendors have unloaded, and bring their own power and water unless you've arranged otherwise (common practice).
- Returning vendors often hope for last year's booth. Decide whether you'll keep them there, and tell them early either way.
Where to put each vendor goes further, with an example.
The show-week email, 1 to 2 weeks before:
- their booth number, and the map;
- their load-in time: set arrivals 15 to 30 minutes apart by row, so the door isn't jammed (common practice);
- unload, move the car to vendor parking, then set up;
- where to check in, and who to call that day, with a second number;
- what's provided, the Wi-Fi and the restrooms;
- the weather plan;
- teardown: not before close, and cars come in only once the aisles are clear.
Volunteers. Put one at check-in, one at the load-in door, and one or two walking the room to give vendors a break. Tell them the plan the day before.
On My Vendor Show: you place approved vendors on the map, and each vendor's page shows their booth and the show-week details. The map with names, the vendor list and the check-in sheet print from there.
Sign up freeFrom real vendor shows
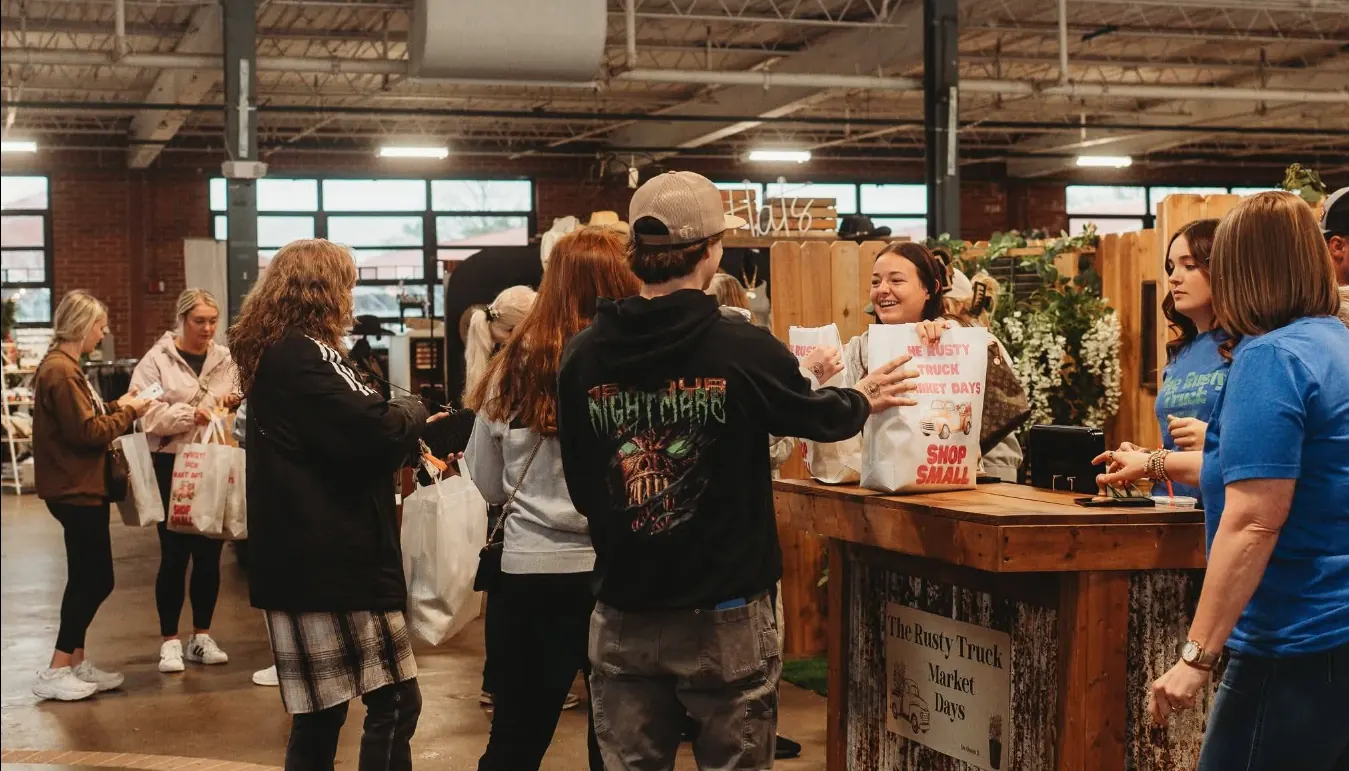
12. Show day
Show day: load-in, check-in and load-out goes further, with a run of show, the door, a lost child and load-out.
- Before the doors open, walk the whole room: exits clear, cords taped down or covered, nothing to trip on, aisles free of tables and boxes, and every canopy weighted.
- Check vendors in as they arrive. If someone hasn't come by your cutoff (an hour before the doors open, say), call them, then fill the space from your waitlist or spread the neighbors out.
- Keep the aisles clear all day. Boxes, chairs and racks creep out.
- Count shoppers. Count everyone who comes in for 20 minutes each hour, and multiply by three. You can also ask shoppers one question on a poster board and have them answer with a sticker: a "dot survey".
- Visit every vendor at least once. Ask how it's going, and write down what they say.
- Lightning: outdoors, stop when you hear thunder, send everyone into a building or a hard-topped car, and wait 30 minutes after the last thunder. Tents and canopies don't protect anyone. For wind, decide beforehand when canopies come down.
- Load-out: no packing up before close. Then let vendors bring their cars in one row at a time, and walk the room with the venue before you leave.
13. After the show
- Say thank you within a day or two: to vendors, volunteers, the venue and your sponsors, and to shoppers on Facebook.
- Send vendors a short survey, one that takes 5 to 7 minutes: how the emails, load-in and their booth location worked, how busy it was, their sales against what they expected, and how likely they are to come back, from 1 to 10 (common practice).
- Write down your numbers: what you spent and took in, booths sold, shoppers counted, and what vendors said.
- Book next year while the venue's calendar is open, and invite your best vendors back first.
After the show: surveys, results and next year goes further, with a sample survey and what to count.
Mistakes first-time hosts make
- Advertising only in the last week. At a first-year festival in Tucson in 2026, the organizers expected 1,000 to 5,000 people, and a vendor said they'd been told to expect more than $2,000 each in sales. Most, the vendor said, went home with less than $100, and there were no refunds.
- Promising crowds or sales. Promise what you'll do (the ads, the signs, the posts), not what shoppers will.
- Moving booths at the last minute without telling vendors.
- Putting similar vendors side by side.
- Calling it handmade when it's mostly direct sales or resale.
- No plan for load-out, or for wind.
- No look back afterwards. The survey and your numbers are next year's show.
Free printable: first show checklist
Tick each one off as you go. Times count back from the day of the show. We'll email you the link, to print or save as a PDF.
Where these numbers come from
Numbers marked as common practice come from many shows' published rules and prices, not from one source. The rest come from these pages:
- Grand Prairie, Texas: special event permits
- Bremerton, Washington: special event application (permit lead times, tents and canopies)
- Illinois Department of Revenue: fairs, flea markets and special events
- Napa, California: tent permits under the International Fire Code
- Albuquerque Fire Marshal's Office: outdoor assembly (fire extinguishers within 75 feet)
- U.S. Food and Drug Administration: Food Code 2026 (temporary food establishments)
- National Agricultural Law Center: cottage food laws by state
- Texas Comptroller: sales tax for promoters and sellers at shows (96-211)
- California Department of Tax and Fee Administration: sellers and vendors at events (Publication 111)
- Washington Department of Revenue: special event promoters' requirements
- Minnesota Department of Revenue: Fact Sheet 148, show and flea market operators
- Wisconsin Department of Revenue: temporary events and event operators
- New York State Department of Taxation and Finance: show operators' Report of Show (DTF-727-I)
- Arizona Department of Revenue: promoters of special events
- Ohio Revised Code 5739.17: vendors' records at shows
- St. Clair, Michigan: special event requirements ($1 million and $2 million insurance)
- Farmers Market Coalition: insurance for markets and their vendors
- Virginia Cooperative Extension: farmers market vendors' insurance
- Insureon (insurance broker): special event insurance cost (2026)
- International Association of Exhibitions and Events: linear booth guidelines
- Canby Fire District, Oregon: aisles, booths and fire extinguishers at events
- Portland Fire & Rescue: public assembly permit requirements
- U.S. Access Board: 2010 ADA Standards, accessible routes (chapter 4)
- ADA National Network: making temporary events accessible
- International Fire Code 503, fire lanes (as adopted by Baltimore)
- SmartAsset: the economics of craft fairs (7 times the booth fee)
- Montana farmers market guide: placing anchor vendors
- Oregon State University Extension: counting shoppers and dot surveys (SR 1088)
- National Weather Service: lightning and outdoor sports (wait 30 minutes)
- National Weather Service: lightning safety outdoors (tents don't protect)
- Tucson Spotlight: Tucson's first Palo Verde Bloom Festival disappoints vendors (April 2026)
Last checked October 27, 2026. This isn't legal or tax advice; rules differ by state and city.
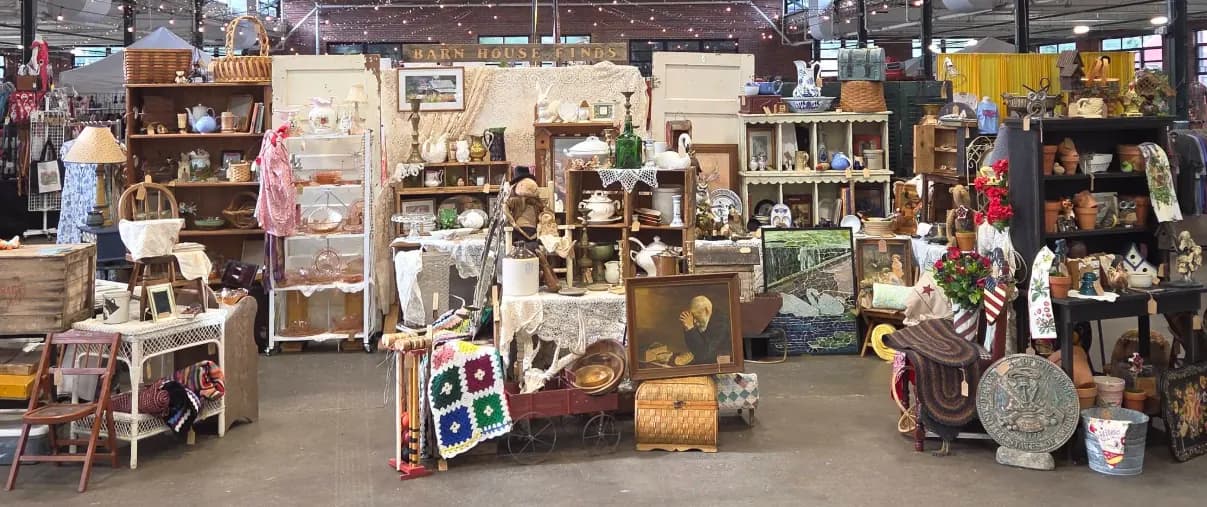
From real vendor shows
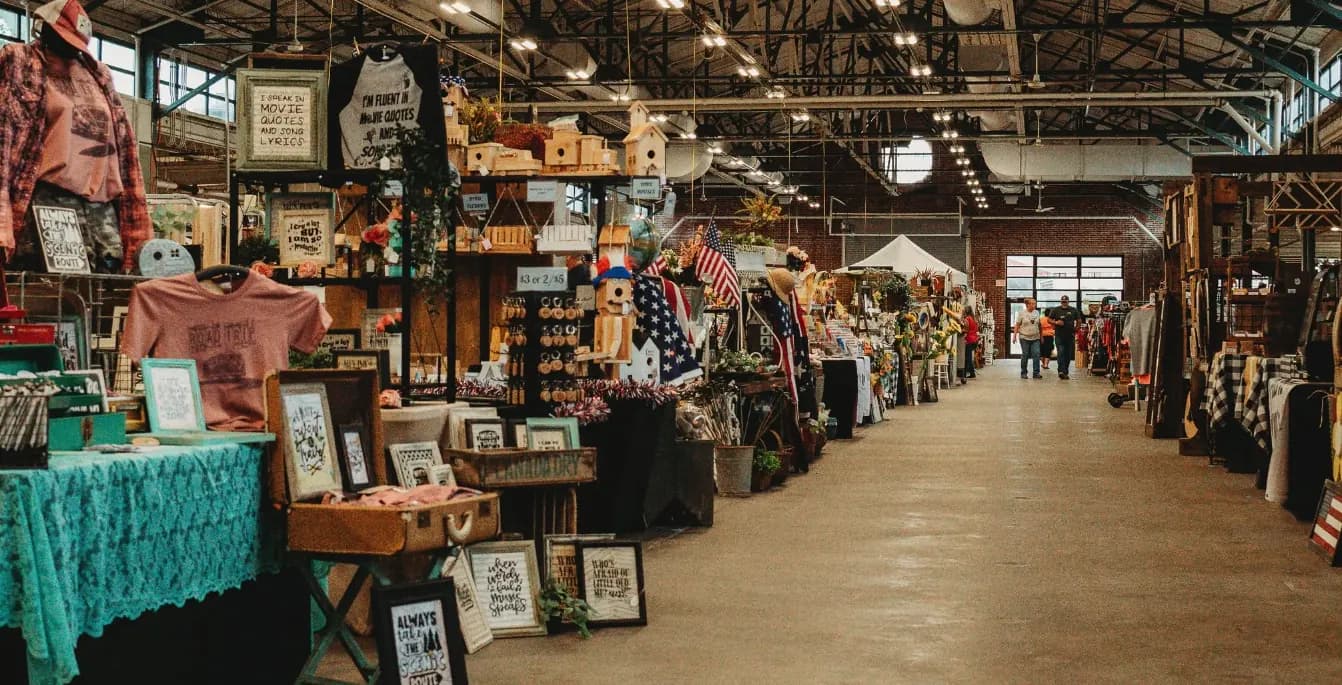
A long aisle of booths 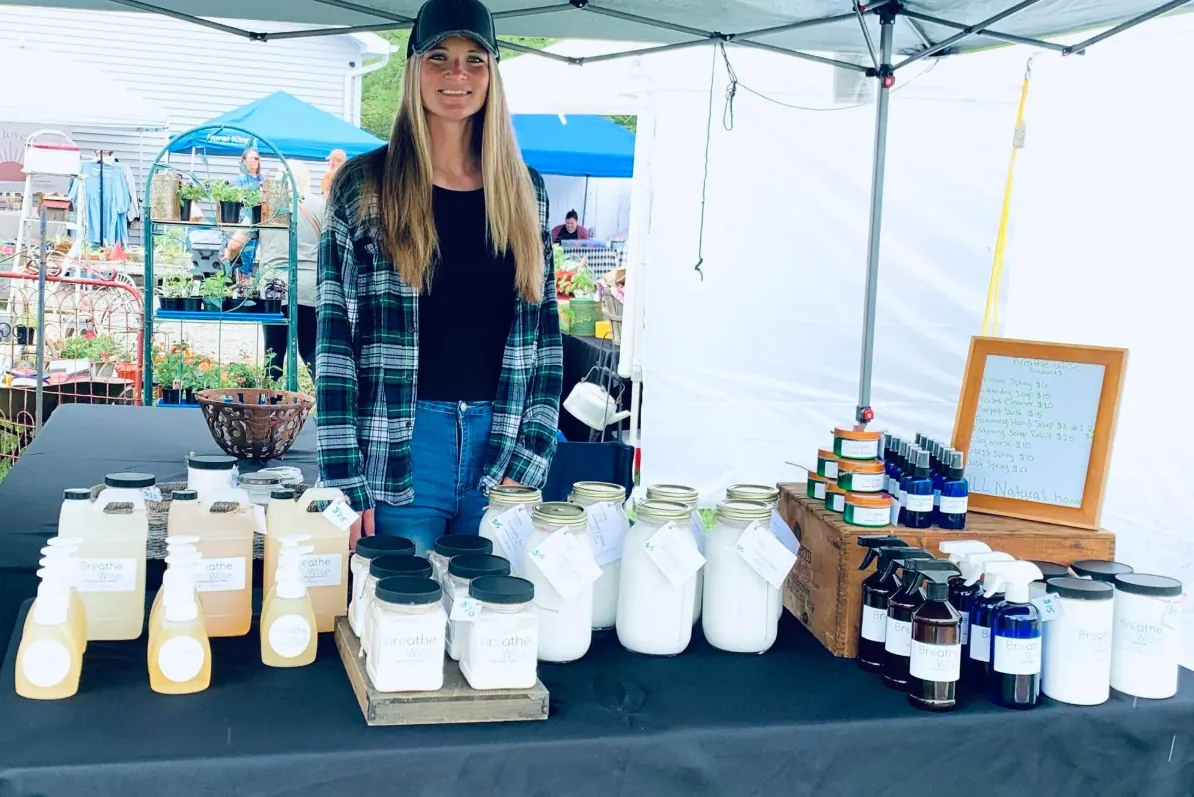
A vendor under her canopy outdoors 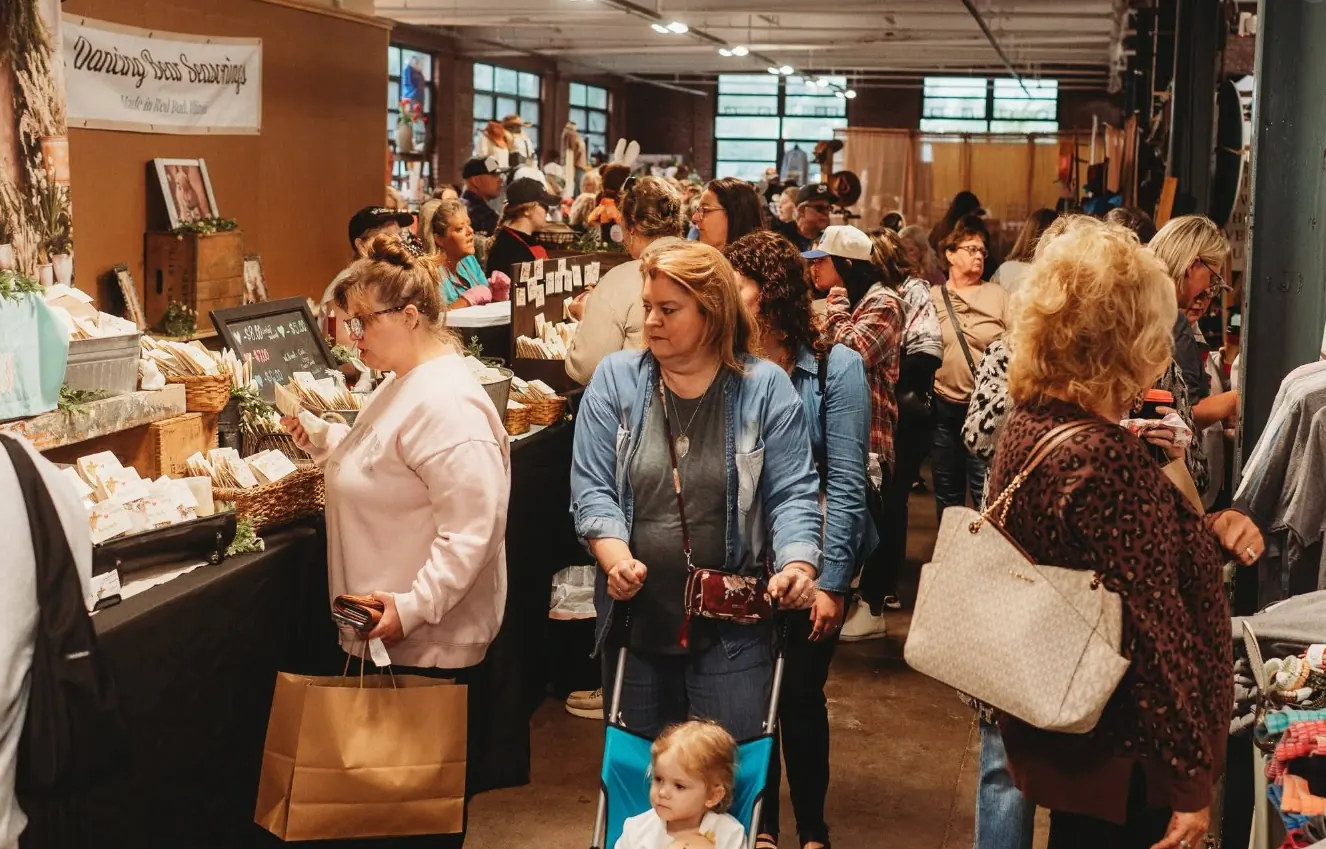
A full aisle on show day 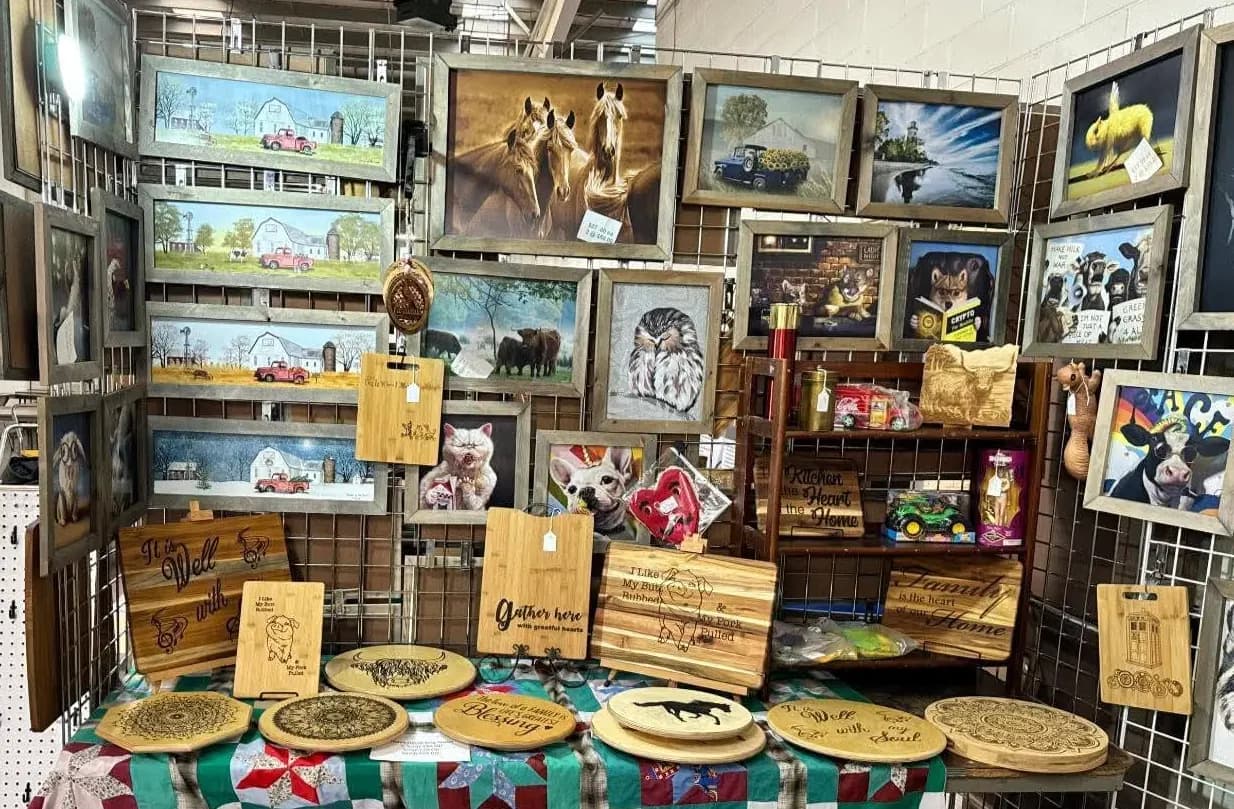
Framed art and cutting boards 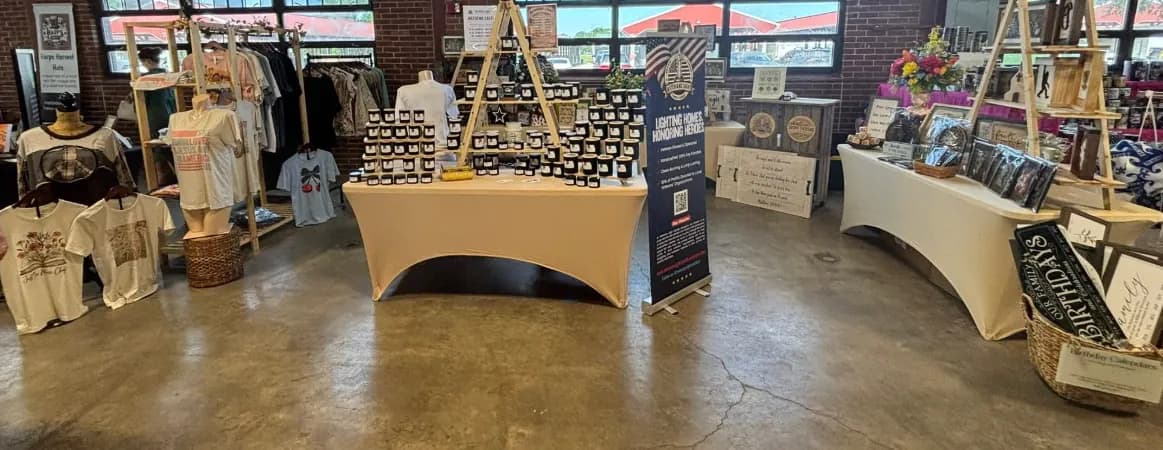
Candles, with shirts behind 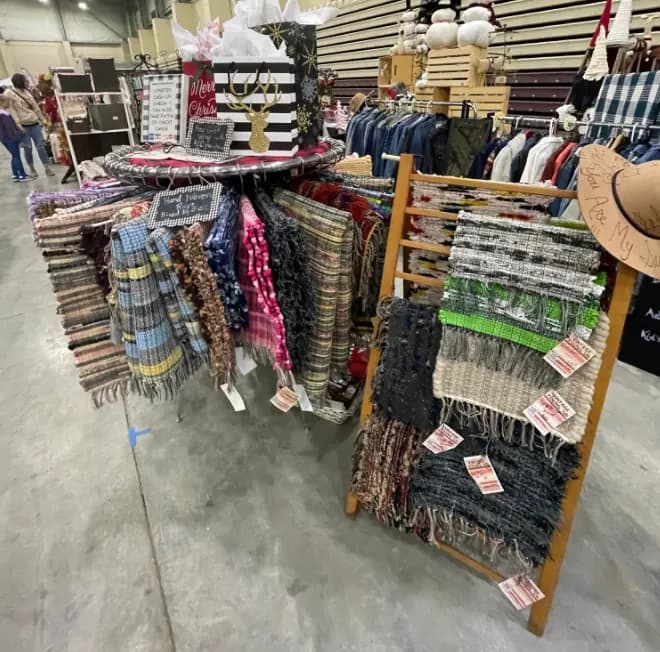
Woven rugs and scarves

Ready to host your show?
My Vendor Show takes your vendor applications, collects booth fees by card, and lays out your booth map, with every email to vendors written for you.
Free for hosts. Vendors who pay online pay a small booking fee: 3%, never more than $5 a booth, unless you choose to cover it. Square takes its usual card fee.
Sign up free